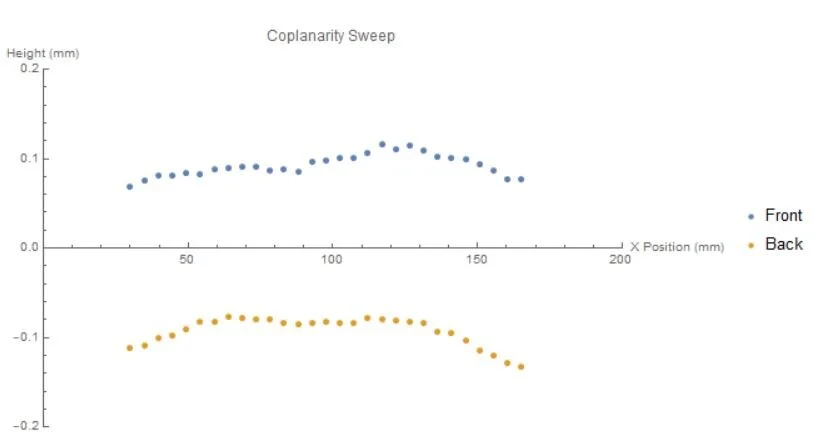
To begin this study, I modified the script for one of the existing calibration rigs - instead of measuring off the four extremes in each corner I hoped to get a more complete image of the behavior of the system by measuring incrementally across the
Arcing Motion
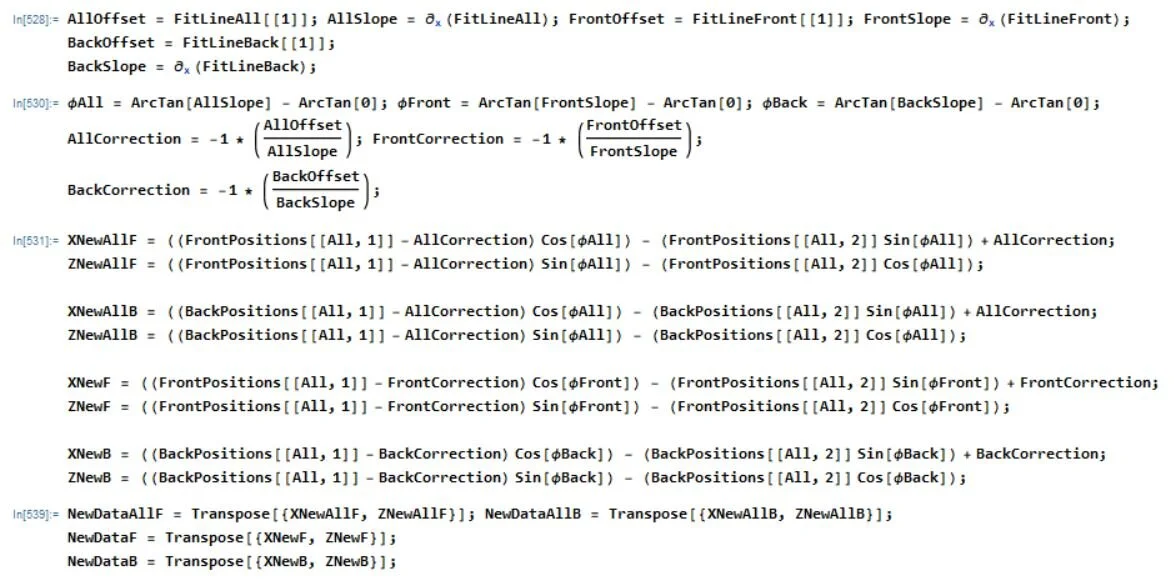
 In order to explore this phenomenon more fully, I had to flesh out my data analysis process. The difficulty was in eliminating the skew inherent in the system - which was irrelevant to the study (and masked some of the arcing behavior) and in creati
Skew Correcting
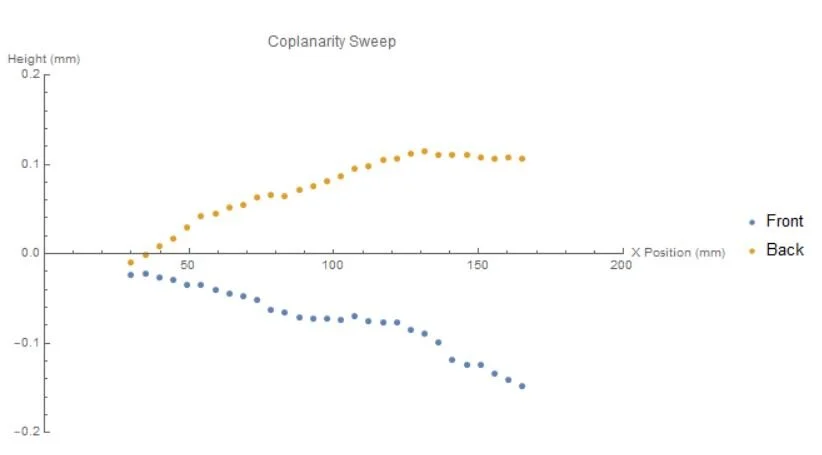
Skew Corrected Plots
 Completing this data correction allowed for better comparison across different hardware configurations - in this case it is now clear that the front and back of the printer are behaving in different ways.
Experimental Design
Experimental Setup
Close Up
Profilometer Output
 I wrote a Mathematica program which processed all of the profilometer output during a print as well as the print log from the printer. The program took the X-position and time from the printer and compared it to the heights read by the profilometer.
 This plot shows the profilometer height on a much tighter scale. It is now much easier to see the differences in height measured by the profilometer between layers.
 This plot is shown on the same scale as above, but with a hardware component from the printer removed. This greatly reduced the amount of mechanical noise between layers.
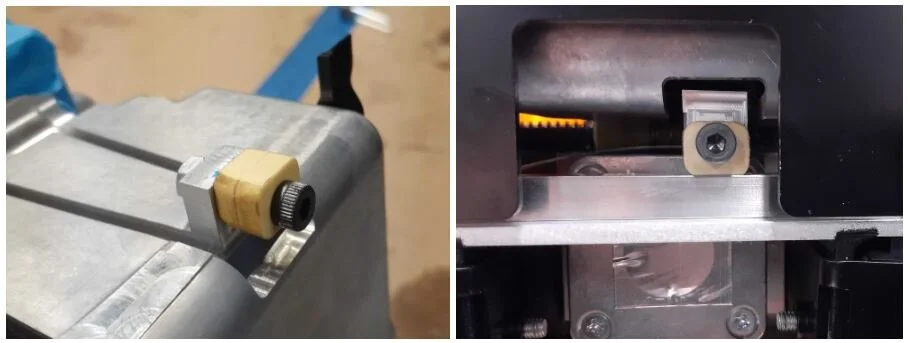
Proposed Fix
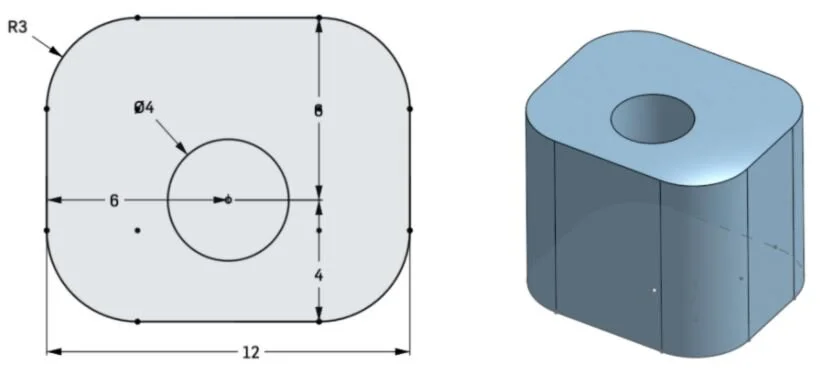
 Cam slider testing showed that it was easy to replace in field, had good wear-in characteristics and lasted for the lifetime of the printer without wearing down.
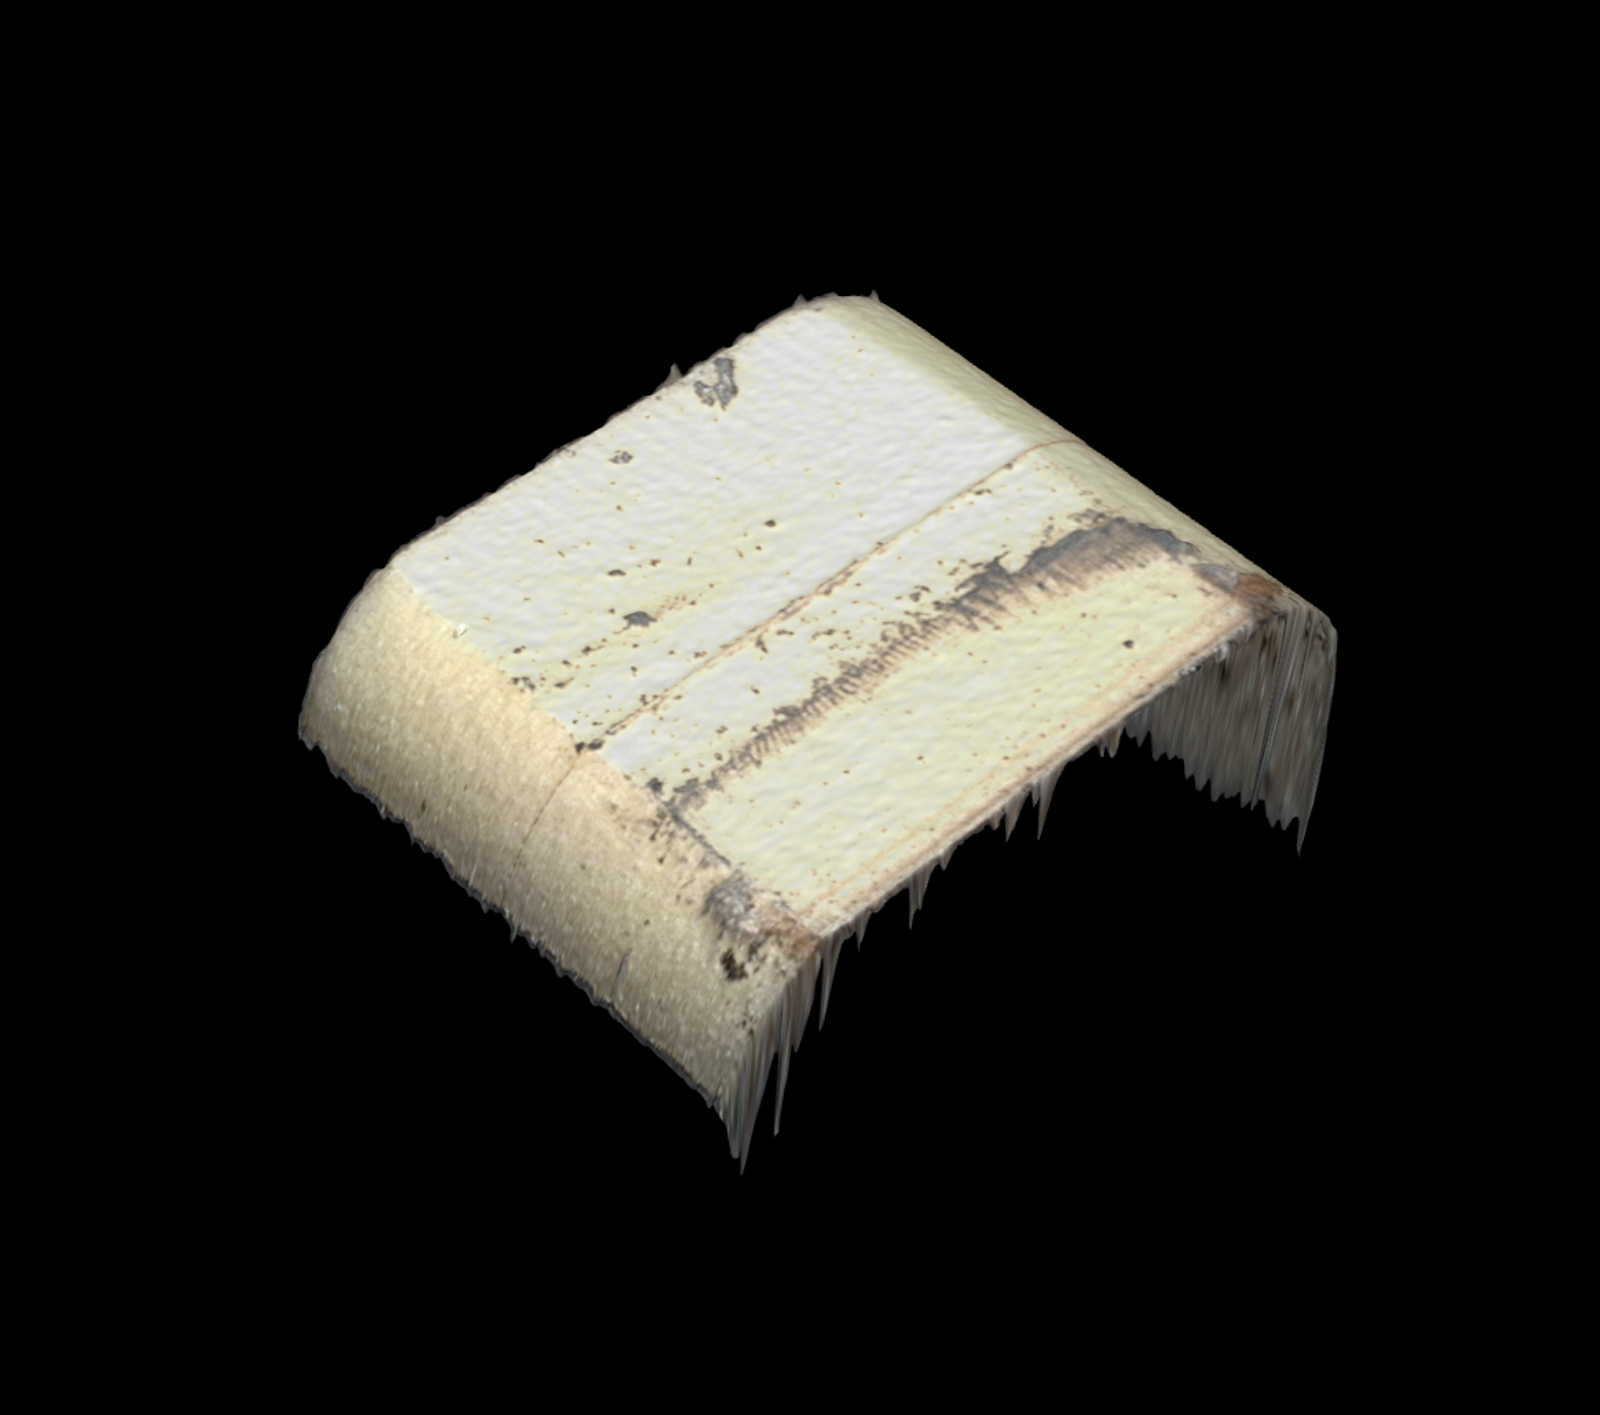
Keyence Scan of Worn Cam Slider
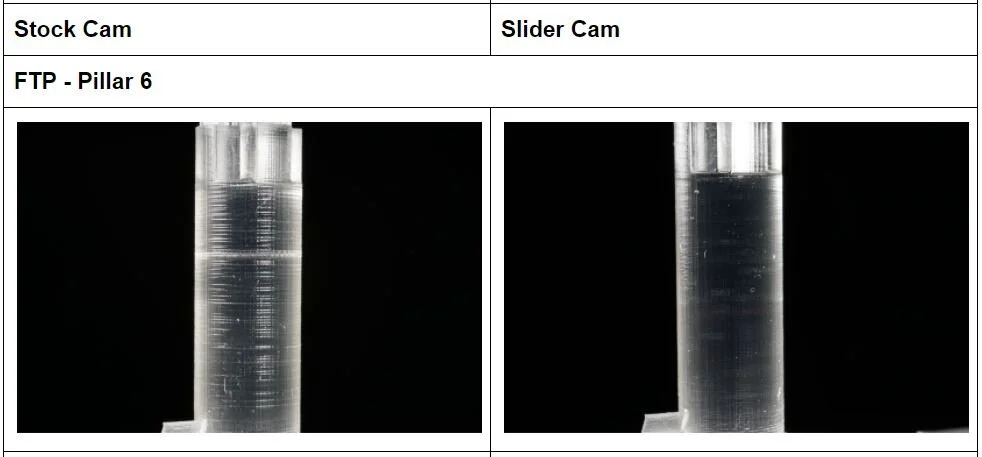
Improvement in Print Quality
prev / next